




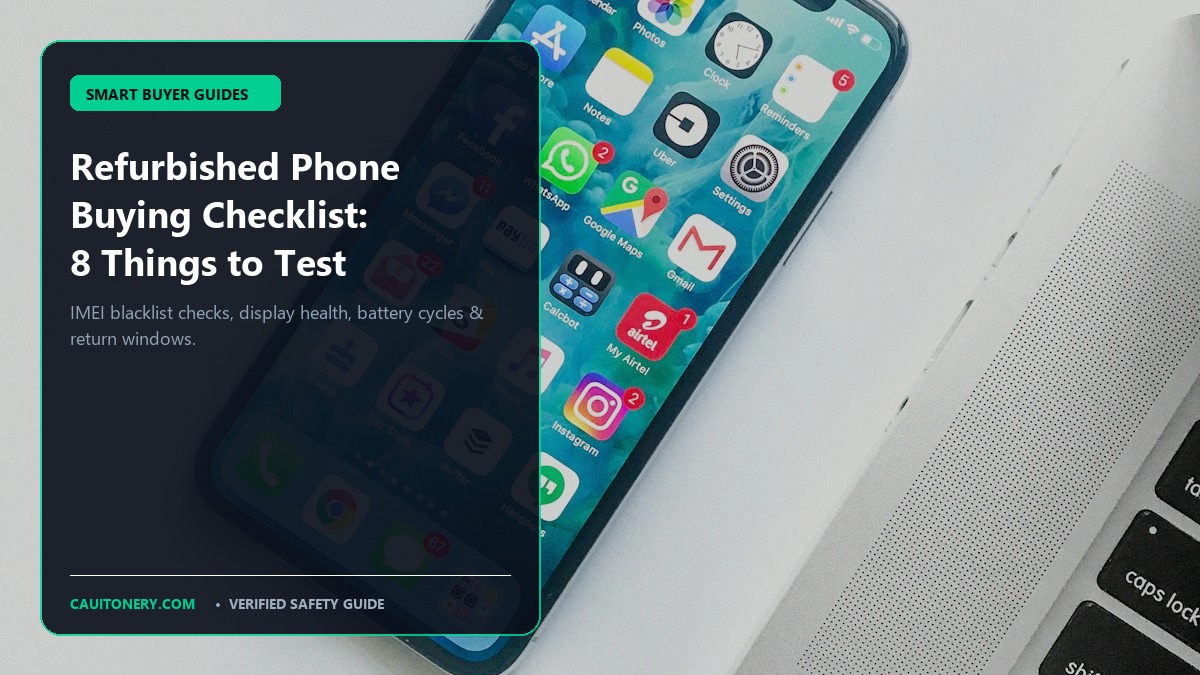
Purchasing a certified refurbished or pre-owned smartphone can save smart consumers between 30% and 60% compared to brand-new flagship retail prices. However, without following a systematic refurbished smartphone checklist during the return window, buyers risk inheriting unverified third-party screen replacements, degraded batteries, or devices with looming carrier blacklist liens. In this exhaustive hardware diagnostic guide by Cauitonery, we present an 8-step inspection checklist to test every sensor, component, and serial number before committing to the purchase.
🛡️ Key Inspection Takeaways
- IMEI Status Verification: Confirm the handset is fully paid off, unencumbered by financing liens, and not blacklisted by global carrier databases.
- Original Display Integrity: Test True Tone, high refresh rate, and multi-touch response to confirm an authentic OEM display is installed.
- Battery Maximum Capacity: A healthy refurbished device must retain at least 85% battery health capacity with original serial pairings.
- Return Window Testing: Run all hardware diagnostics within the initial 48 hours while the retailer’s 30-day money-back guarantee is fully active.
Understanding Refurbished Cosmetic Grades
The secondary electronics market classifies refurbished devices into standardized condition tiers. Knowing what each grade represents prevents unrealistic expectations and protects you from overpaying:
- Grade A (Pristine / Excellent): Flawless or nearly invisible micro-scratches on chassis; display glass is pristine. Device functions at 100% factory specifications.
- Grade B (Very Good): Minor cosmetic scuffs or light bezel abrasions; screen is clean and free of cracks. Fully functional internals.
- Grade C (Good / Fair): Obvious signs of cosmetic wear, paint chipping, or shallow casing scratches. 100% operational hardware at the deepest discount.

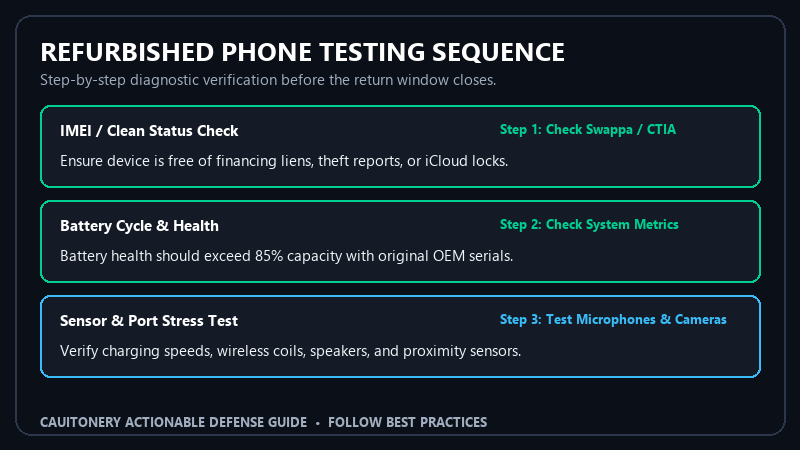
Refurbished Smartphone Testing Checklist Matrix
Before throwing away the shipping box, run through this comprehensive hardware verification matrix:
| Hardware Component | Testing Method | Pass Benchmark | Fail Action |
|---|---|---|---|
| IMEI / Cloud Lock | Dial *#06# and cross-reference with CTIA/Swappa |
Clean status, no financing liens, iCloud unlocked | Immediate Return |
| Display & Digitizer | Full white screen test, drag icon to all corners | No dead pixels, True Tone active, uniform tint | Exchange Unit |
| Battery Health | System Battery Settings or coconutBattery utility | >= 85% maximum capacity, OEM serial detected | Request Battery Swap |
| Cameras & OIS | Switch through 0.5x, 1x, 3x lenses; record video | Smooth focus, no motor clicking, clean glass | Return / Exchange |
The 8-Step Refurbished Smartphone Diagnostic Checklist
Step 1: Check IMEI and Global Blacklist Status
Dial *#06# on the phone’s keypad to retrieve the hardware IMEI number. Match this number against the serial printed on the SIM tray and original purchase invoice. Then, query free carrier blacklist databases (such as the CTIA Stolen Phone Checker Database and Swappa Global IMEI Blacklist Checker) to verify the phone is clean and free of unresolved theft or carrier non-payment reports.
Step 2: Inspect Display Quality and Touch Matrix
Low-grade third-party screen replacements are common in amateur refurbished units. To detect fake screens:
- Open a full-screen white image and check for color tinting, yellow edges, or uneven backlight bleeding.
- On iPhone, verify that True Tone is functional in display settings. If True Tone is missing, the screen was replaced without serial reprogramming.
- Drag an app icon continuously across every quadrant of the display to ensure there are no dead touch zones.
Step 3: Audit Battery Health and Cycle Count
Check the system battery report (Settings > Battery > Battery Health on iOS; AccuBattery on Android). Reject any refurbished device advertising “excellent condition” whose maximum capacity reads below 85%. Make sure you are familiar with lithium-ion battery safety and charging habits to maximize cell longevity once verified.
Step 4: Test All Cameras and Optical Image Stabilization (OIS)
Launch the camera app and test every optical sensor (wide, ultra-wide, telephoto). Focus on an object close-up and far away to verify autofocus motors. Record a video while walking to ensure the mechanical OIS gyro is not rattling or producing shaky footage.
Step 5: Verify Microphones, Speakers, and Proximity Sensors
Make a test phone call and hold the phone up to your ear. The screen must turn completely black (confirming the proximity sensor functions). Record a voice memo using the speakerphone to verify the noise-cancelling secondary microphones operate cleanly.
Step 6: Test Biometrics (Face ID / Fingerprint Reader)
Biometric hardware modules are cryptographically paired to the device logic board at the factory. If a previous repair damaged the sensor, Face ID or under-display fingerprint sensors will permanently fail to register. Test enrollment immediately.
Step 7: Check Physical Ports, Wireless Charging, and Water Seals
Plug in a USB-C or Lightning cable and wiggle it gently. The connection should remain solid without dropping. Place the device on a Qi wireless charging pad to ensure inductive charging coils are intact. If you are also shopping for computing gear, consult our used laptop buying guide and diagnostics for hardware inspection best practices.
Step 8: Perform a Factory Reset Under Your Own Account
Before closing your inspection, perform a complete factory wipe (Settings > Reset). Sign in with your personal Apple ID or Google account to prove beyond doubt that the device is unburdened by corporate Mobile Device Management (MDM) enrollment profiles.
Frequently Asked Questions (FAQ)
What is the difference between “Refurbished” and “Used”?
“Used” simply means a previous owner used the phone and sold it as-is. “Refurbished” implies a technician inspected, cleaned, repaired defective components, and tested the device to ensure factory operational standards.
Can a blacklisted phone ever be unblocked?
Only the original account holder who placed the insurance or non-payment claim can contact the carrier to remove a blacklist flag. If you buy a blacklisted phone, third-party unlocking services cannot help; return it immediately for a full refund.
Are third-party replacement screens durable?
Budget aftermarket LCD screens installed on OLED phones suffer from poor viewing angles, inferior touch polling rates, and higher battery drain. Always confirm OEM or premium soft-OLED replacements.
Why is following a refurbished smartphone checklist so important?
Most reputable refurbished marketplaces give buyers a 30-day trial period. Completing this checklist within the first 48 hours ensures you discover subtle hardware defects while you can still get an unconditional replacement or full refund.


